KNIME for Beginners: A Step-by-Step Guide

Table of Contents
- Downloading KNIME
- KNIME Self-Paced Courses(Learn by watching)
- Hands-on Tutorial
- Useful Links
KNIME? What is that? The answer to that question might surprise you… but I guarantee it will change how you see data science forever.
KNIME is short for Konstanz Information Miner, a free and open-source tool for data science. It is fantastic and fit for purpose, as it can seamlessly integrate with all kinds of tasks, from simple column renaming and applying basic formulas to full-on web development and deployment or machine learning.
Starting with KNIME might seem daunting… but if I were a beginner (as I was just a few months ago), here's how I would learn to use KNIME today!
Step 1: Download KNIME
Pretty obvious, right? Downloading KNIME is the first and most crucial step here; after all, without KNIME, you can't do any of the steps that will follow.
Head on over to knime.com and press download (no registration required).
Step 2: Learn from Tutorials (Skip to #3 for Hands-On Training)
Here, you are now faced with a choice!
Do you like to learn by watching and replicating, branching from a set-made template? That was how I was when I first started! If so, I recommend you check out the KNIME Learning Center!
You can choose one of the available paths from Data Analyst, Data Engineer, or Data Scientist, and follow the on-screen tutorials and exercises according to your needs and aspirations.
Watching the video tutorial series will familiarize you quickly with KNIME's interface, available nodes, and opportunities. I took the Free Self-paced courses L1-AP and L2-DS in the Data Science track. The courses will guide you through all of KNIME's functionality, from navigating the interface to solving complex problems. I can't recommend these tutorials highly enough! Most of my skills with KNIME today came from these tutorials and the practice they provide.
The tutorials are carefully curated to ensure there are practice problems you can work through on your own time. If you don't have time to work on them, solutions are also provided that help streamline your thinking in case you get stuck!
Or, if you want to skip the exercises and watch the videos for the content, you can do that too! Each person likes to learn differently, so do what suits you best!
Step 3: Learn by Building!
If you like to "Learn by Building," then you are in luck! KNIME offers a very straightforward method of learning on the fly!
Inspired by this KNIME post, here's how to learn KNIME on the go!
First, open the KNIME analytics platform. Then, open this link and follow the instructions to set up KNIME's beginners space!
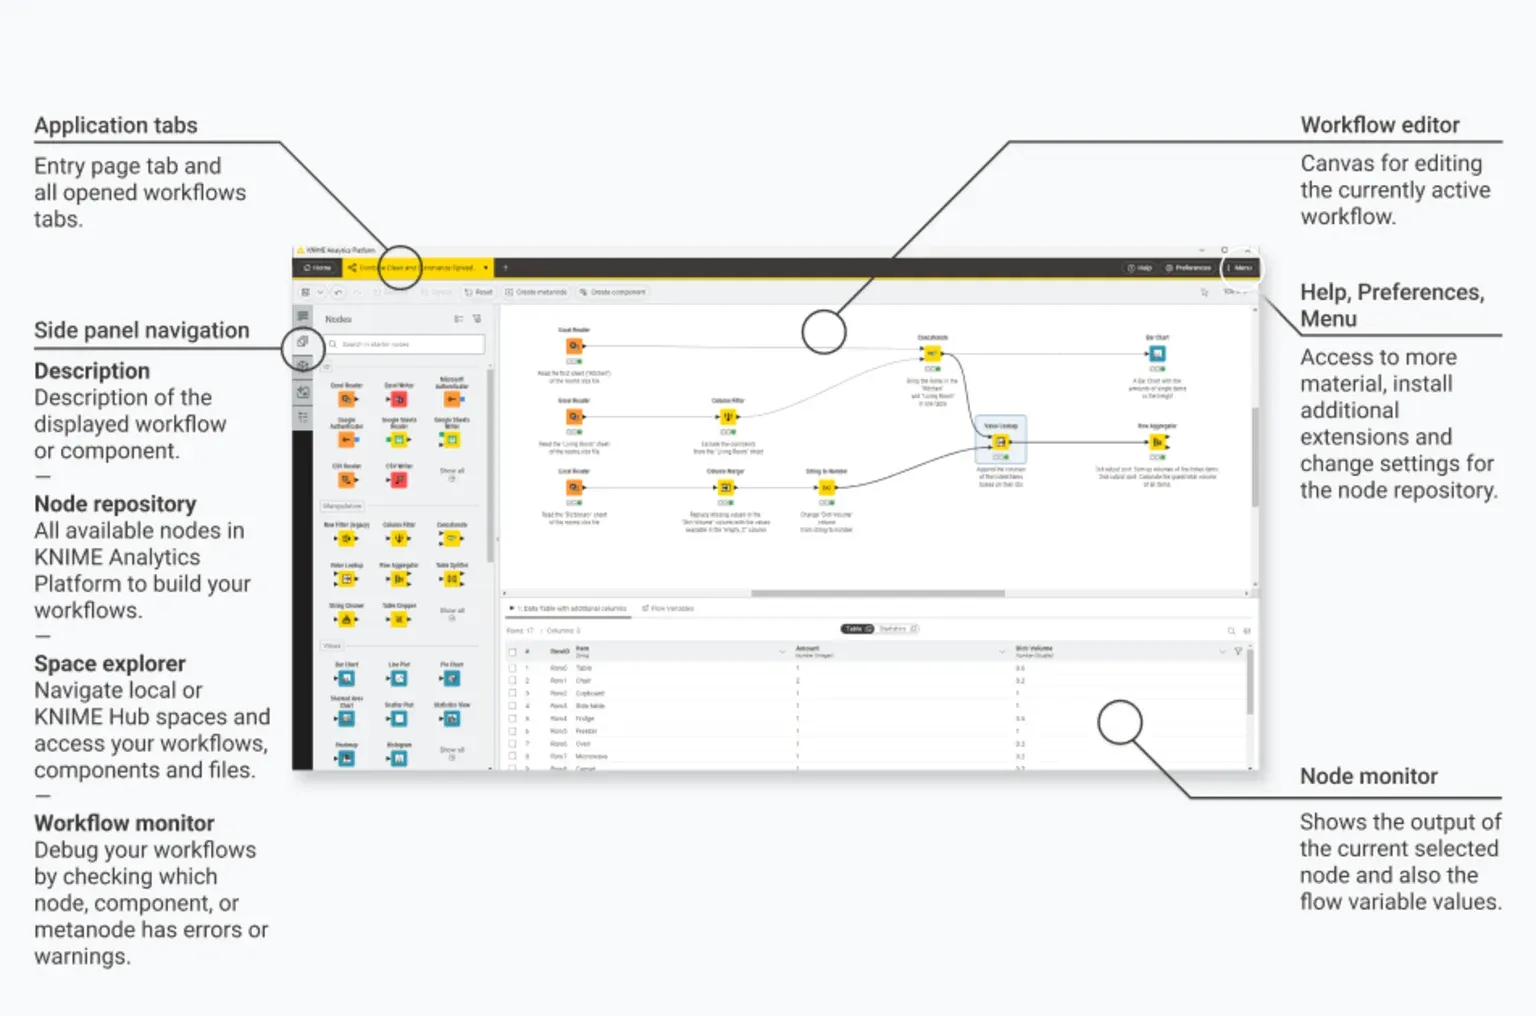
Once you have KNIME open, begin familiarizing yourself with the layout. The welcome screen will greet you. Press on the right to "Create New Workflow."

The Node Repo and the console are the two tabs you use most often. The node repository is where you can find all sorts of nodes used to perform workflow actions. The nodes have all functionalities, like reading and writing tables, creating plots, exporting files, or writing Python or JavaScript code.
Every node is configurable by double-clicking. Inside, you can decide which parameters to change or, for instance, which file to import.

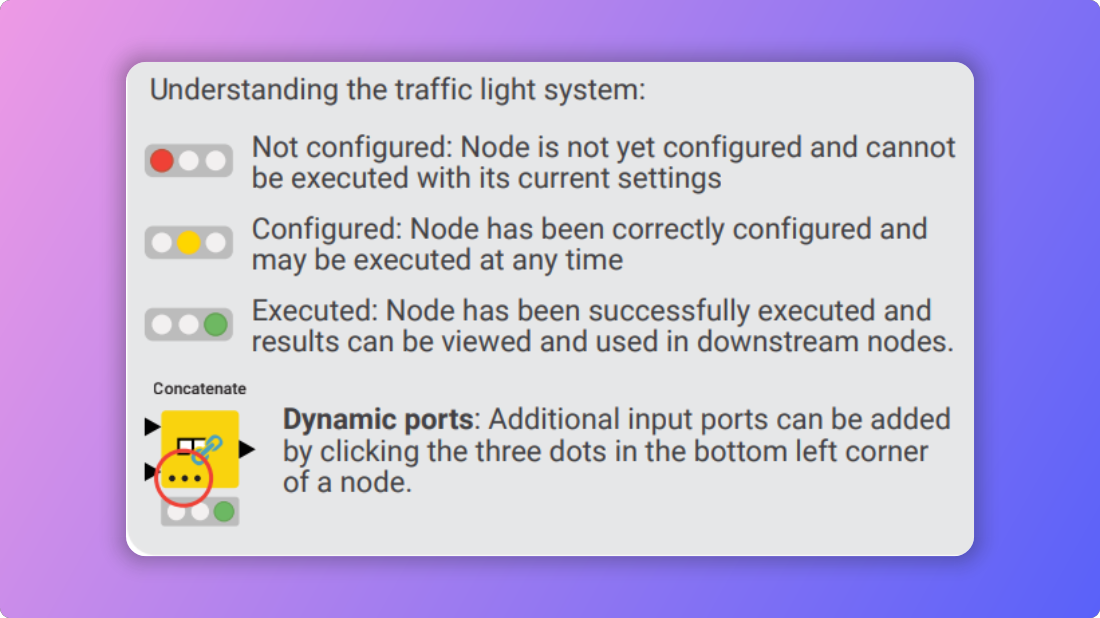
After configuring the node, the light will switch from red to yellow, ready to be executed. Press the play button above the node to make it run.

The output of executing your node will typically be shown as a plot or table, depending on the node you just executed.

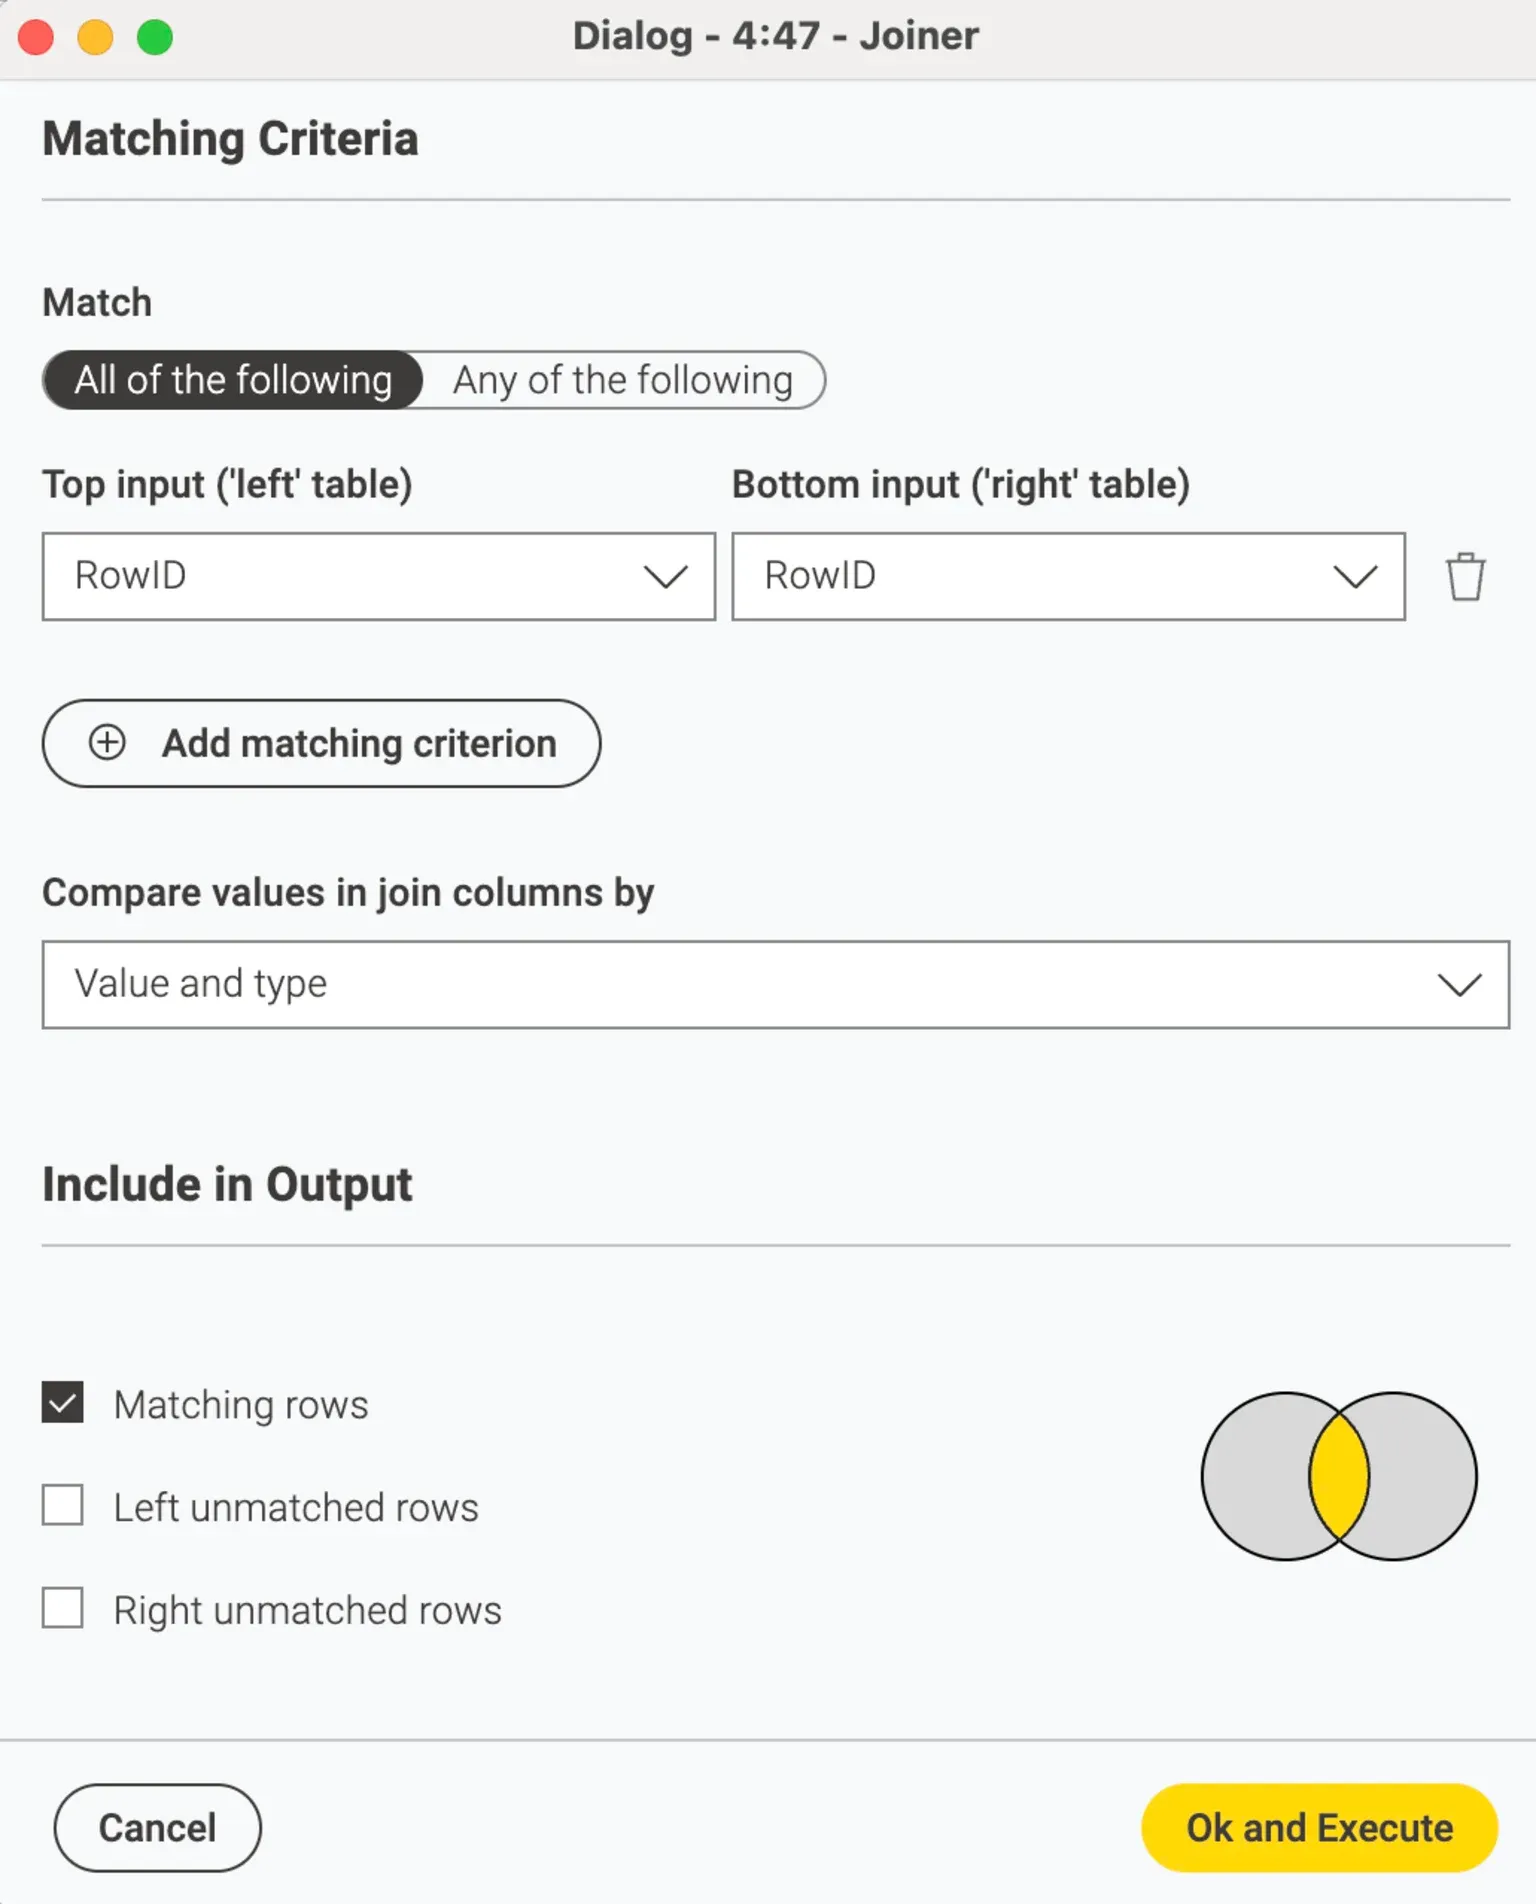
That is it! Congratulations! You have now learned the basics of KNIME and how it works! Now, tweak the pre-made workflows to fit your data or research question! After reading the Excel, rinse and repeat the process with additional nodes, such as column filters, row filters, joiners, model training, and testing; the possibilities are endless!
Couldn't find the node you were looking for? Luckily, KNIME has flawless integration with the web. Search the KNIME Hub for the node or templates you want and drag and drop them into your workflow to import the node!
What can you do next? Check out the advanced specialization courses in the Learning Center to learn more advanced skills, like deploying KNIME to the web or building automatized workflows!
Congratulations on getting started with KNIME! If you have any further, feel free to leave a comment!
Other Useful Links:
For a quick reference guide, I highly recommend this cheat sheet.
KNIME Hub - Search for nodes' pre-made workflow templates and drag and drop them into your application to open
KNIME Learning Center - take more advanced courses
